Disclosure of Material Connection: Some of the links in the post above are "affiliate links." This means if you click on the link and purchase the item, I will receive an affiliate commission. Regardless, I only recommend products or services I use personally and believe will add value to my readers. I am disclosing this in accordance with the Federal Trade Commission's 16 CFR, Part 255: "Guides Concerning the Use of Endorsements and Testimonials in Advertising."
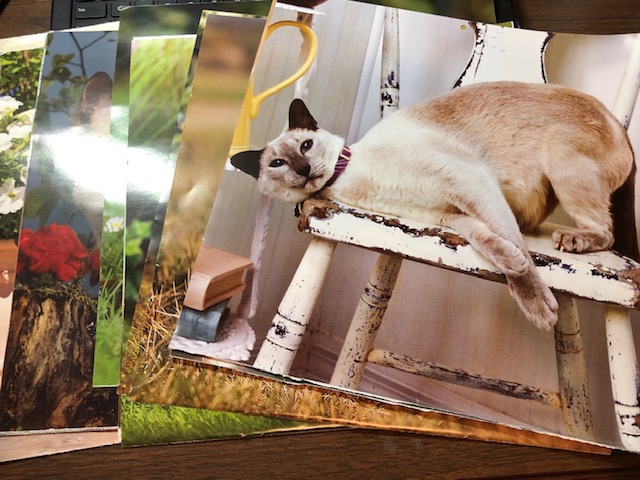
Do you have some old calendars laying around that you don’t know what to do with? Well, I have a solution to your problem! When the new year hit, I was left with a couple of calendars that were too pretty to throw away, yet obviously wouldn’t work as a calendar. I pondered for a while on what to do with them. I wanted to upcycle them some how, I just didn’t know how yet. Then it hit me! Envelopes!! Everyone needs envelopes, so why not have pretty ones? Follow along with me, as I show you how I turned a useless calendar into functional envelopes 🙂
Envelopes

Materials
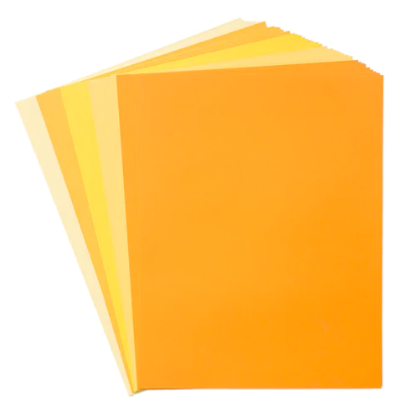
- Old calendars and/or paper
- Adhesive or double sided tape (glue stick would work, too)
Tools
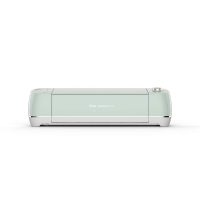
- Cutting machine (Cricut, Silhouette, etc.)
- Scoring Stylus
- Fine Point Blade
- Light grip mat
Instructions
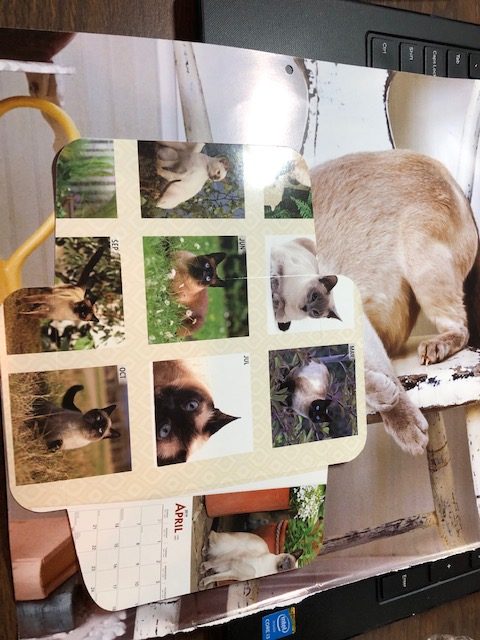
- The first thing you need to do is separate your calendar into sheets. I usually just tear them along the folded edge, and they come apart pretty easily.
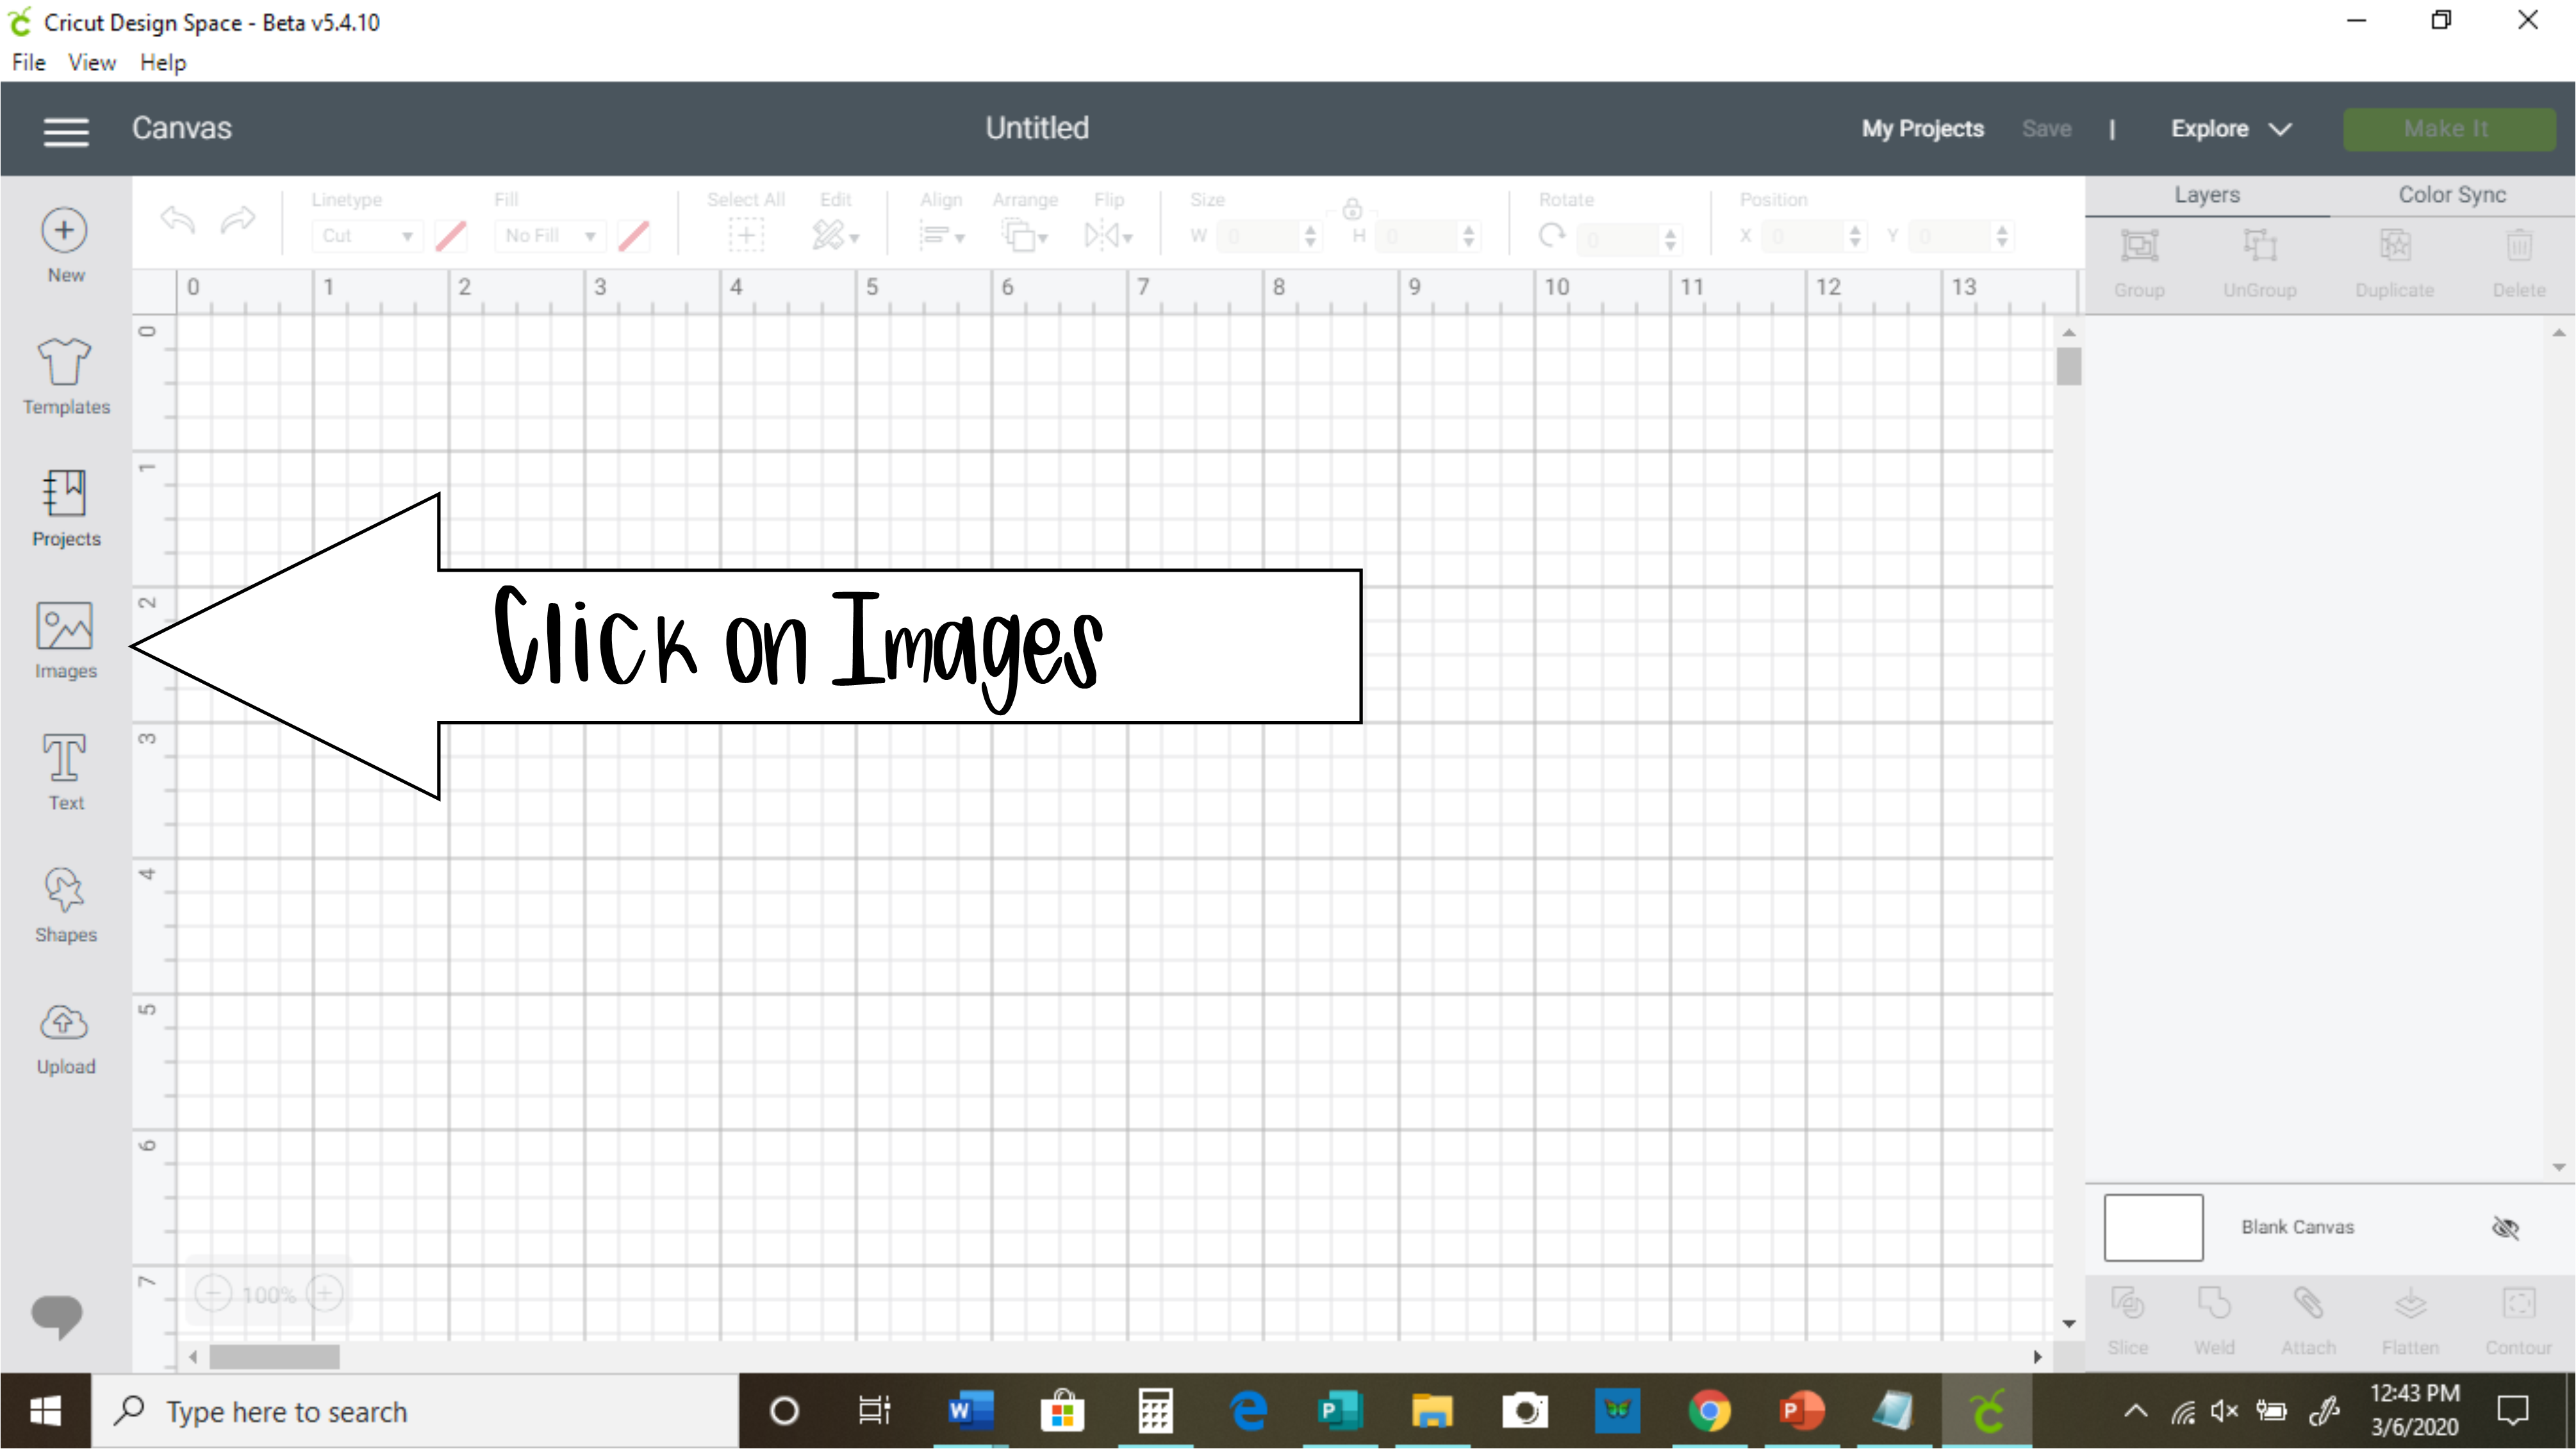
- In Cricut Design Space, click on "Images."
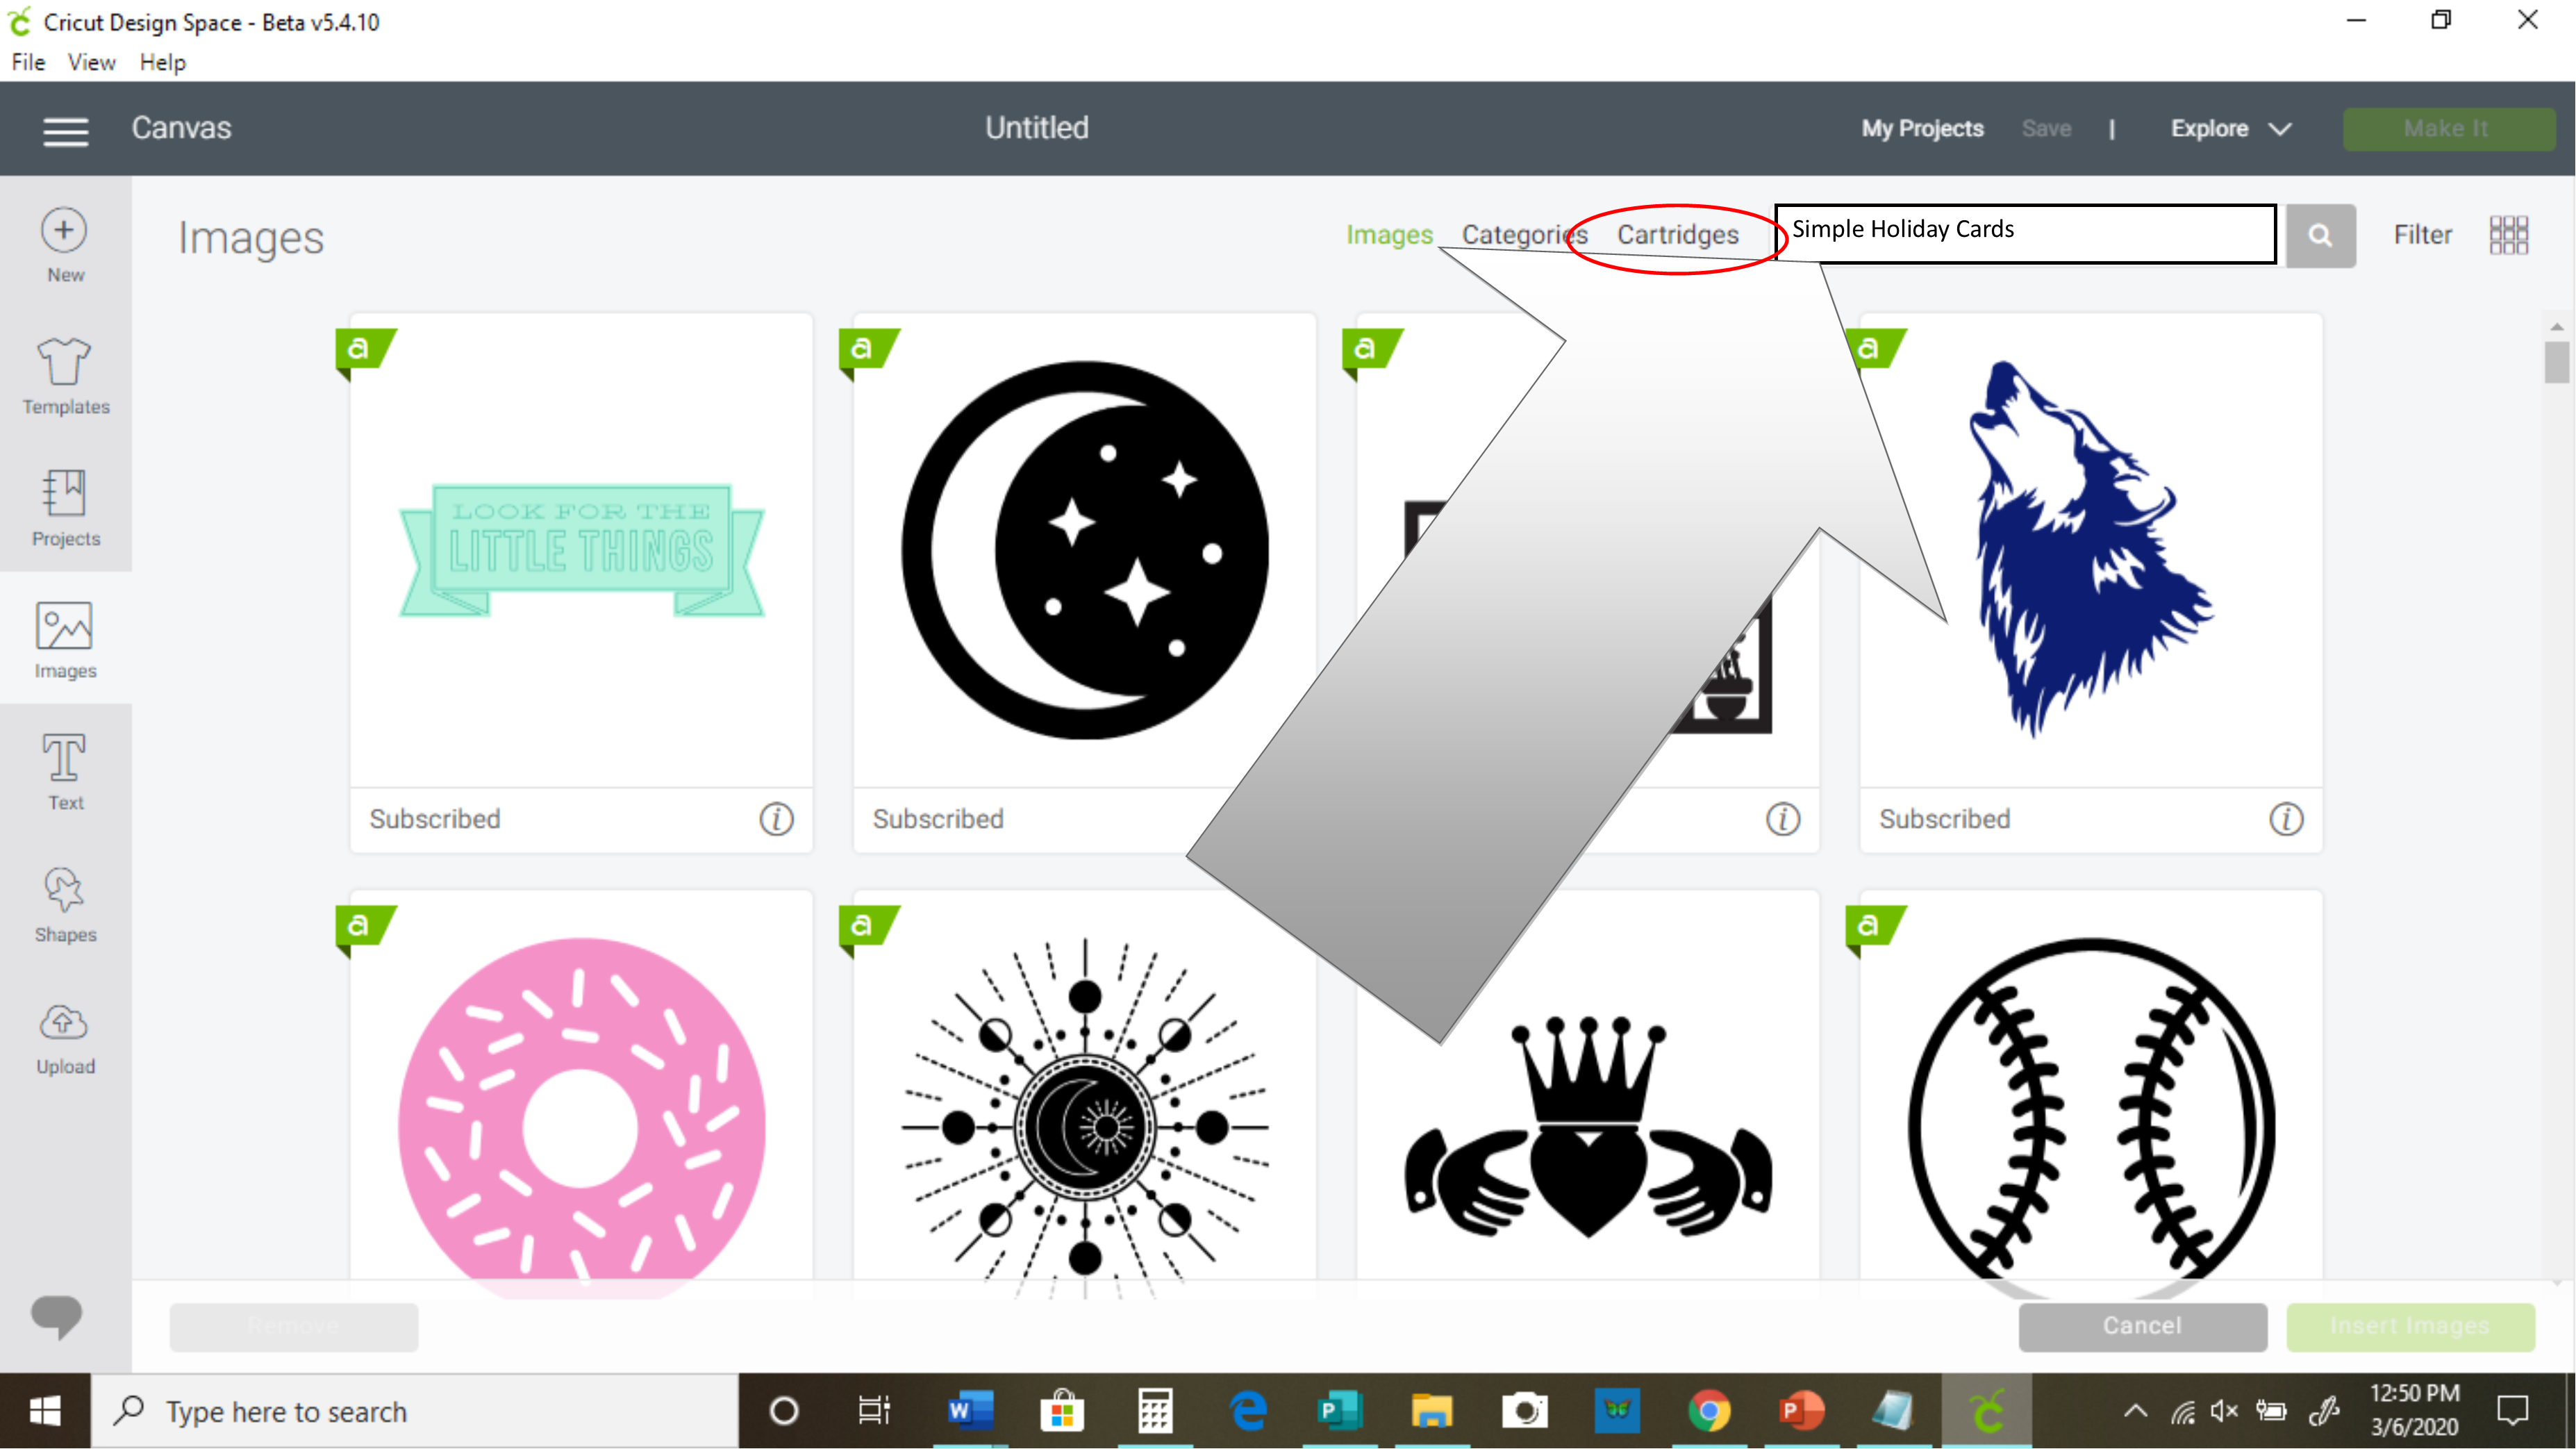
- After clicking on "Images," you will see a bunch of images, and at the top right, you will see a search bar. Beside that search bar, you will see the word "cartridges." Click that, then type in "Simple Holiday Cards" in the search bar and press enter.
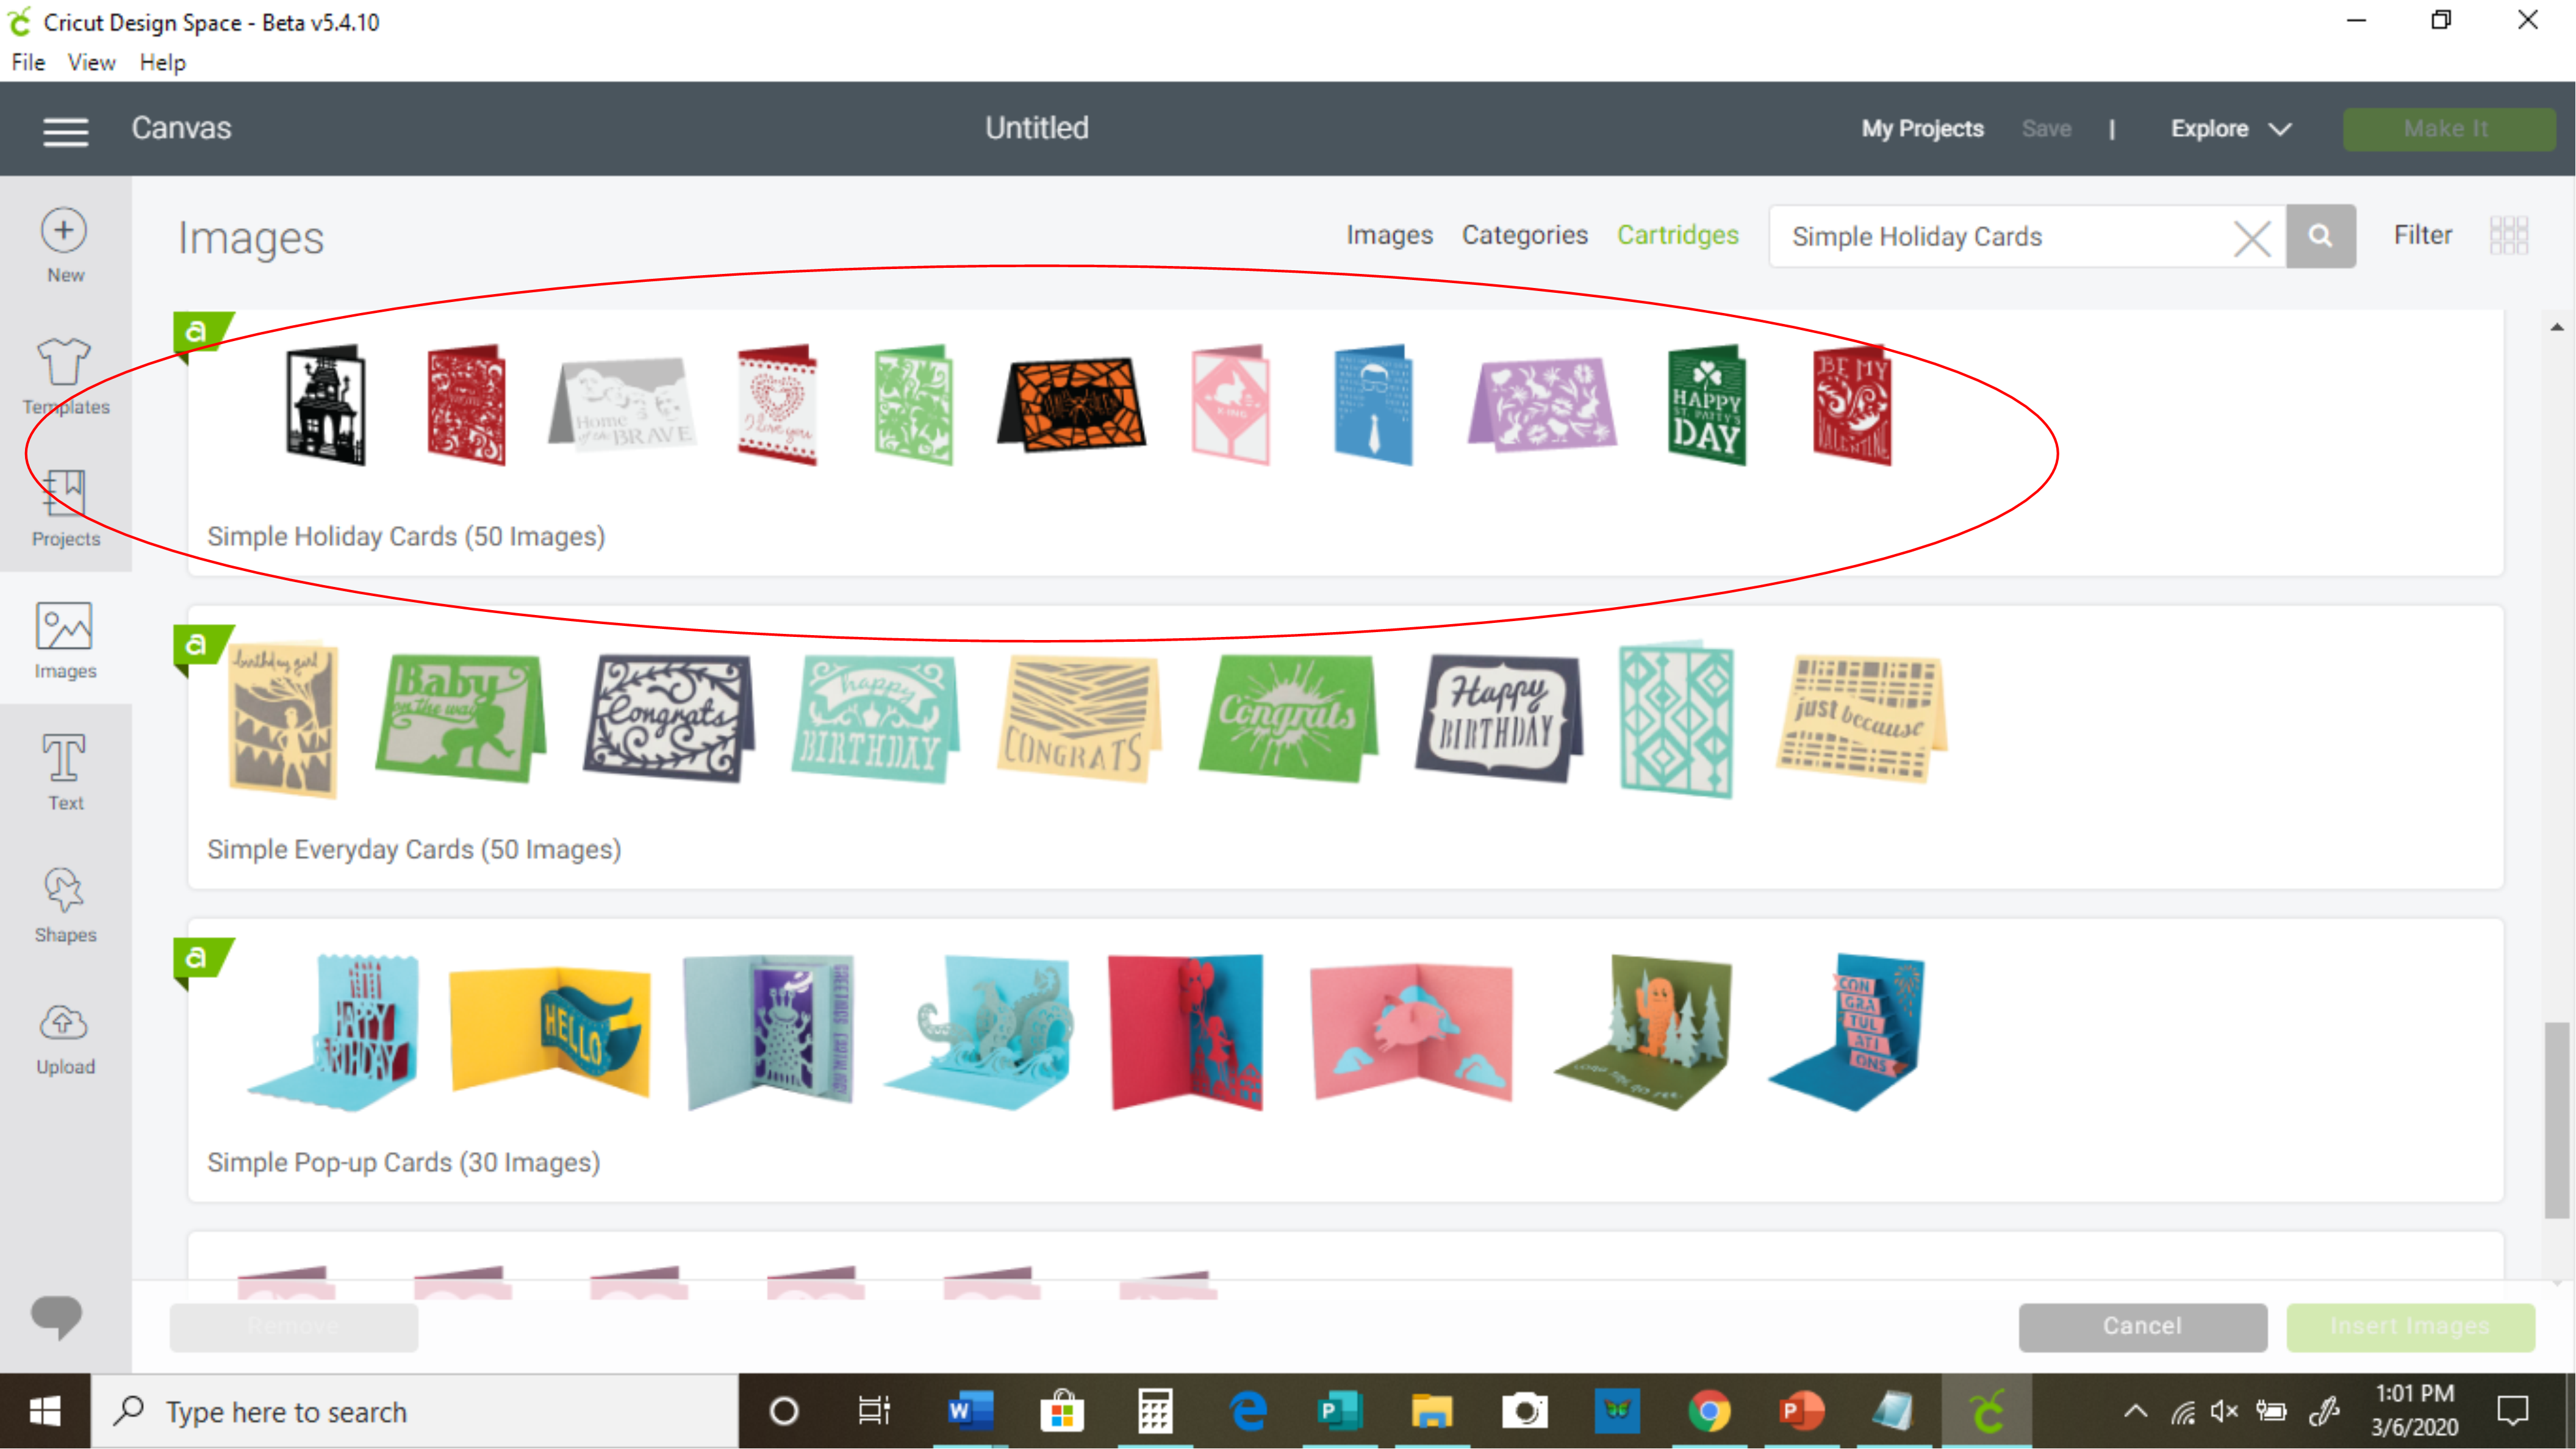
- Scroll down until you see this set, then click on it:
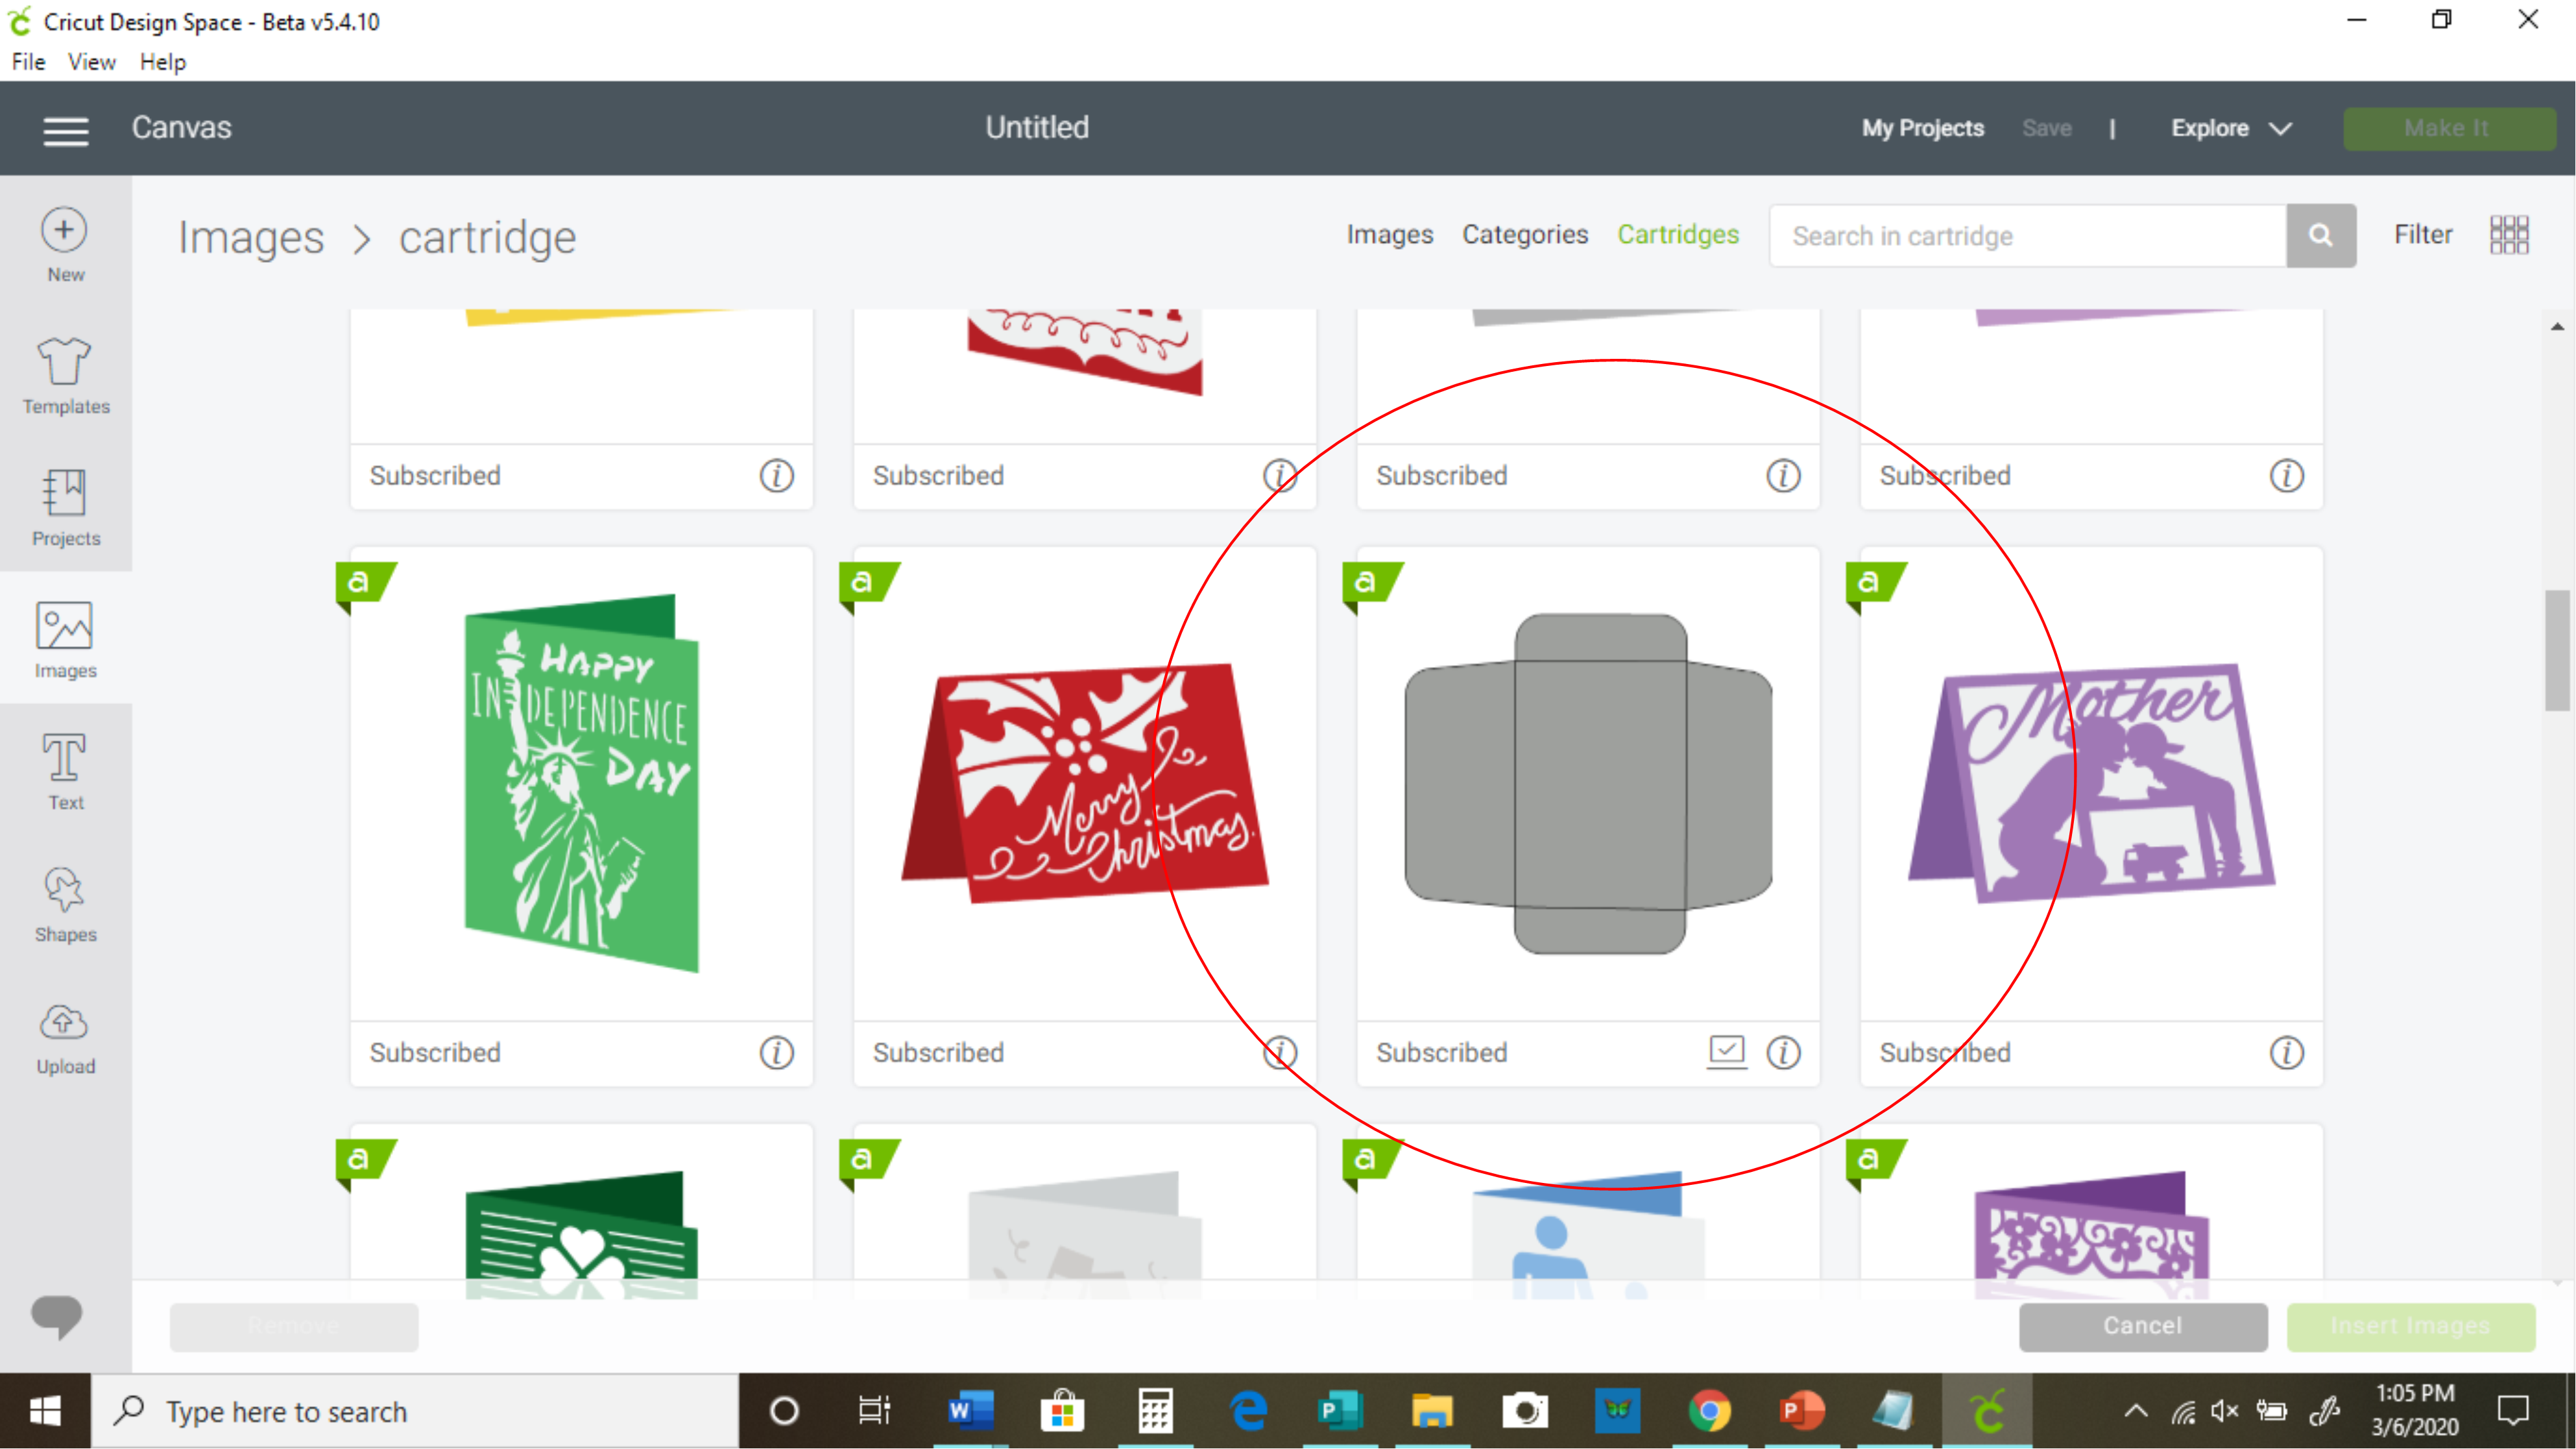
- Once you are in that set, scroll down until you see the grey envelope template, then click on it and click "insert image" in the lower right corner.
- Now, we are finally in the part where we tweak the design and cut some envelopes! The first thing you want to do is determine if the size provided is the one you want. If not, change it to the size you want using the size adjuster at the top of the screen.
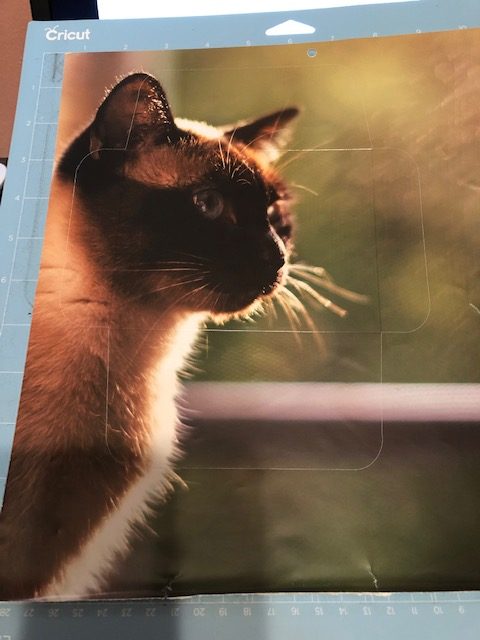
- Once you've gotten your envelope sized how you want, it's time to make some envelopes! Go ahead and click on "Make it." At this time, I want you to use either a back piece or front piece of that calendar, the one that thick like card stock. You are going to make a template.
It won't really matter where you position the envelope on the mat at this time, because it's just a template. You will want to use the card stock setting, since this is a thicker page. This is what it should look like once it's finished.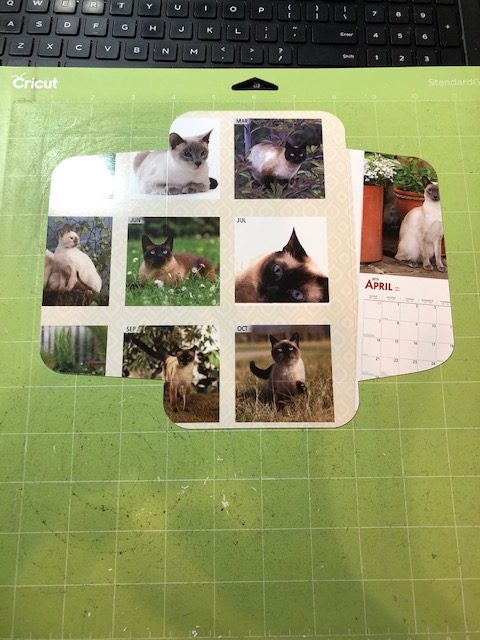
- Now that you have the template made, you can start making all kinds of envelopes! The template is vital in helping you to know where to position that envelope on the mat in the "make it" screen, so you are getting the best envelope with your picture.
- You can see the cut lines on my envelope here. I used the Copy Paper 20lb setting, with more pressure.
- Once you've cut your envelopes, it's time to fold them and apply adhesive. You will have score marks on the envelopes, so they will fold super easy!
I use an adhesive runner to apply adhesive. I only apply it to the bottom flap, on the sides. Then you would use adhesive again when you want to seal the envelope.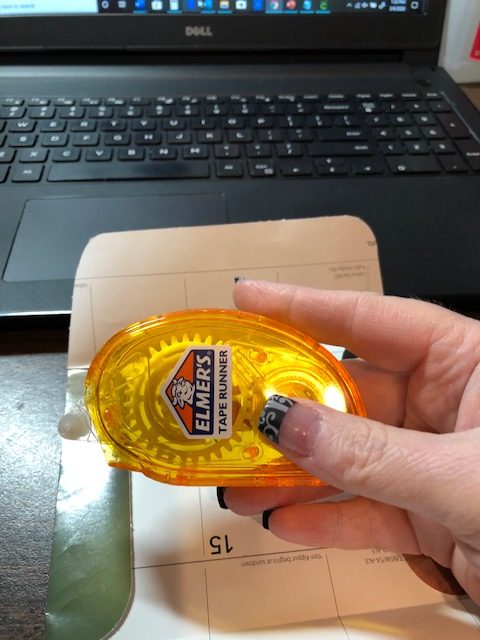
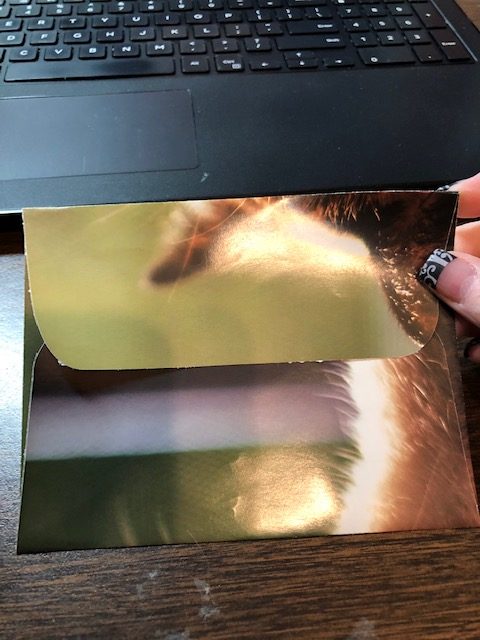
This is my final envelope! Beautiful!
Notes
**A template isn't a required item for this project. If you are confident in your placement abilities, then you can skip this step if you want.
**The time for this project is just an estimate. Everyone works at a different pace. Once you done it a few times, it will take less time.
Recommended Products
As an Amazon Associate and member of other affiliate programs, I earn from qualifying purchases.